Last Updated: November 5, 2026
Quick Summary
Getting help with custom design files starts by identifying whether you need artwork created from scratch, file preparation and cleanup, or a quick preflight check. Prepare a clear request with your product, print size, files, references, deadline, and quantity, then let a designer handle the skilled work.
- DIY fixes suit vector files with outlined fonts and correct dimensions.
- Raster images should be at least 300 DPI at the final print size.
- Use CMYK color mode for print, since RGB files can shift color.
- Embed or outline fonts so text doesn't swap or reflow at the printer.
- Check proofs on a larger display, not a phone screen.
Table of Contents
- Step 1: Identify What Kind of Design Help You Actually Need
- Step 2: Prepare a Useful Design-Help Request
- Step 3: Know the Best File Formats for Custom Apparel Printing
- Step 4: Meet the Apparel Printing Artwork File Requirements
- Step 5: Learn How to Make a Logo Print-Ready
- Step 6: Handle Vector File Conversion for Printing
- Step 7: Troubleshoot Common File Problems Before You Submit
- Request a Quote and Bring Your Artwork to Life
- Frequently Asked Questions
Step 1: Identify What Kind of Design Help You Actually Need
Getting help with custom design files starts with one question: what do you actually need?
There are three common starting points. Each one leads to a different kind of assistance.
- You have an idea but no file. You need artwork creation from scratch, often from a sketch or reference photo.
- You have a file but it won't print cleanly. You need file preparation and cleanup before anything goes to press.
- You have a working file and just need a check. You need a quick review for resolution, color, and format.
Do-it-yourself fixes work for the third group. If your file is already vector artwork with outlined fonts and correct dimensions, a simple preflight check may be all you need.
One-on-one design assistance fits the first two groups. A designer can rebuild a low-resolution logo, redraw artwork in vector form, or set up a product mockup before production.
The mistake we see most often is guessing.
Do-It-Yourself Fixes vs. One-on-One Design Assistance
DIY makes sense when the problem is small and the file is sound. Try it first if:
- Your file is already vector and opens without errors
- Fonts are outlined or embedded
- The image is high enough resolution for the print size
- You only need to resize or reposition elements
Bring in expert support when any of these are true:
- Your only copy of a logo is a small JPEG or a screenshot
- You need the artwork to scale to a banner without blur
- A client or vendor sent files you can't open or edit
- The design must match brand colors exactly
A common mistake is trying to fix a raster logo by enlarging it. That never works. A pixel-based image stretched past its native size turns soft and blocky. Only a redraw in vector form fixes it.
Step 2: Prepare a Useful Design-Help Request
A clear request saves time and money. Designers can work faster when they know exactly what you want, and you get fewer rounds of revisions.
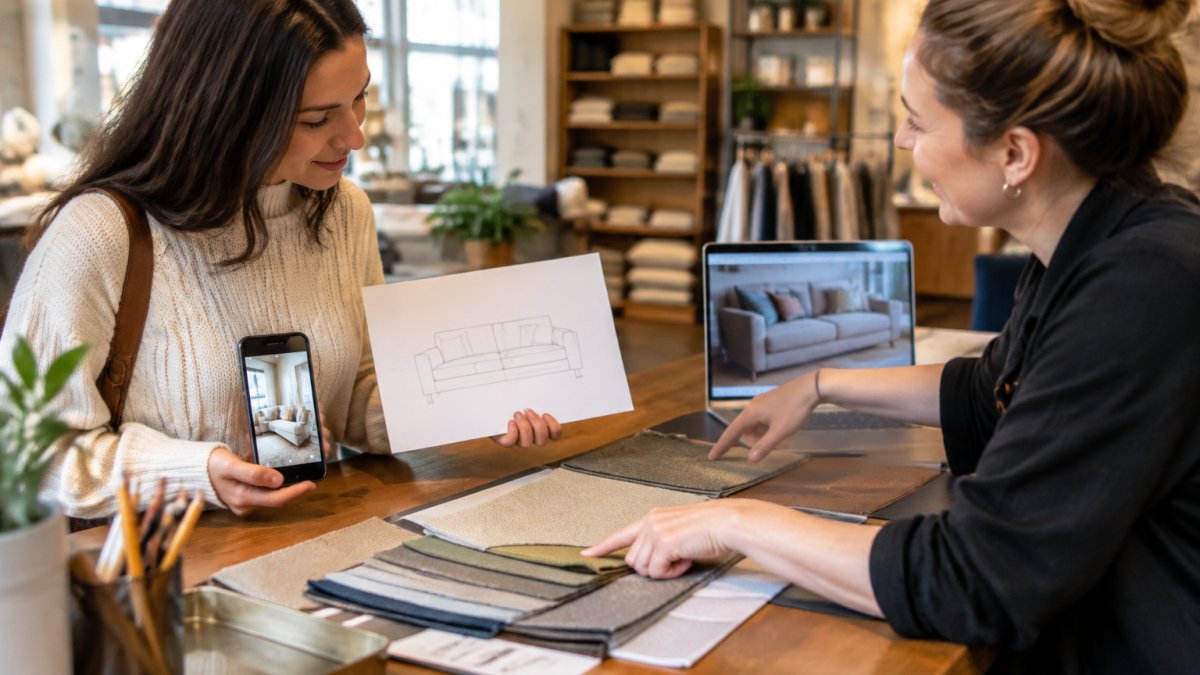
Before you contact anyone, gather these items:
- The intended product. A t-shirt, a hoodie, and a tote all need different artwork setups.
- The print size and placement. Chest, full back, sleeve, or pocket changes the layout.
- Your files. Send the best version you have, even if it's rough.
- Reference images. Screenshots or photos of a style you like help more than words.
- Deadline and quantity. Both affect how the job gets scheduled.
- Brand details. Exact color codes and fonts, if you have them.
Write your request in plain language.
What most guides miss is the value of a sketch. A hand-drawn layout, scanned or photographed, communicates placement faster than a paragraph of description. Don't worry about quality. A rough drawing is a useful brief.
Watch out: sending only a social media screenshot as your "logo file" forces a rebuild you didn't budget for. Ask the original designer or your old vendor for the source files first.
Step 3: Know the Best File Formats for Custom Apparel Printing
Vector artwork is built from math, not pixels. It scales to any size without losing sharpness. That makes vector the standard for logos, lettering, and simple graphics.
Raster images are made of pixels. Photos are raster by nature. They print well when the resolution is high enough for the final size.
| Format | Type | Best For | Watch Out For |
|---|---|---|---|
| AI / EPS | Vector | Logos, line art, source files | Needs design software to edit |
| Vector or raster | Print-ready files, proofs | Check that fonts are embedded | |
| SVG | Vector | Web and simple graphics | Limited support in some print workflows |
| PNG | Raster | Photos, transparent backgrounds | Blurs when enlarged |
| TIFF | Raster | High-quality photo printing | Very large file sizes |
| JPG | Raster | Quick previews and sharing | No transparency, compression loss |
A print-ready PDF is often the safest handoff file because it holds everything in one place. The Adobe guide to PDF file formats explains how PDFs preserve layout, fonts, and images across systems.
For apparel, ask your printer which formats they prefer before you export. Some shops accept almost anything. Others want a specific setup for their equipment.
Step 4: Meet the Apparel Printing Artwork File Requirements
Apparel printing artwork file requirements come down to four things: resolution, color mode, dimensions, and clean edges. Miss any one and the print can look blurry, washed out, or wrongly sized.
Here is what to check before you submit:
- Resolution. Raster images should be at least 300 DPI at the final print size. A 12-inch-wide print needs roughly 3,600 pixels across.
- Color mode. Use CMYK for print (What is CMYK and when to use it?). RGB files can shift color when converted.
- Dimensions. Set the canvas to the actual print size, not the size of the shirt.
- Background. Remove backgrounds for transparent prints. A white box behind a logo looks wrong on a dark shirt.
- Bleed and margins. Keep important elements away from the edges.
Different print methods have different tolerances. Screen printing handles bold, solid colors well. Direct-to-garment printing works better with detailed, full-color images. Ask which method your order will use, then prepare the file for it.
Fonts, Embedding, and Outlining
Fonts cause more print problems than any other file element. If a font isn't available on the printer's system, the software swaps it for something else. Your carefully chosen typeface becomes a default font, and the layout shifts.
There are two fixes:
- Embed the fonts. Embedding packs the font data into the PDF so it travels with the file.
- Outline the fonts. Outlining converts text into vector shapes. The letters become artwork, so no font is needed at all.
Outlining is the safer choice for final print files. The trade-off is that outlined text can no longer be edited as text. Keep an editable copy of your source file with live text for future changes.
The PDF Association's guidance on font embedding covers why embedded fonts matter for reliable printing.
Step 5: Learn How to Make a Logo Print-Ready
To make a logo print-ready, convert it to vector, set the correct color mode, size it for the print area, and save a clean copy in a print-friendly format. Each step removes a way the logo could fail on fabric.
Follow this order:
- Get the source file. Ask for the AI, EPS, or SVG version from whoever designed the logo.
- Rebuild if needed. If you only have a low-resolution image, a designer can redraw it as vector artwork.
- Set color mode to CMYK. Convert spot colors and check that brand colors still look right.
- Size it correctly. Scale the logo to the actual print width.
- Outline the fonts. Convert any text in the logo to shapes.
- Save a print-ready PDF. Keep a separate editable master file.
A print-ready logo holds its edges at any size, uses the right color space, and needs no font files to display correctly.
What most people don't realize: a logo that looks perfect on a website can still fail in print. Screen colors and print colors don't match exactly. Bright greens and oranges are common trouble spots.
Step 6: Handle Vector File Conversion for Printing
Vector file conversion for printing means turning a pixel-based image into scalable vector artwork, or converting between vector formats. It is not a one-click filter, despite what some tools promise.
Automatic trace tools exist, and they can help with simple shapes. For a clean logo, though, manual redrawing gives a far better result. A designer rebuilds curves, straightens lines, and matches the original proportions.
When conversion makes sense:
- Your only logo file is a small JPG or PNG
- You need to print artwork at a much larger size
- A vendor requires vector files for their equipment
- You want editable source files for future orders
When it doesn't:
- The artwork is a photograph. Photos stay raster.
- The image is already high-resolution and printing small
- The design is intentionally textured or painterly
Expect conversion to take real design time. It is skilled work, not a file-format flip.
Step 7: Troubleshoot Common File Problems Before You Submit
Most file problems fall into a handful of categories. Run through this checklist and you'll catch the majority before they reach a printer.
- Blurry or pixelated artwork. The image resolution is too low for the print size. Fix it with a vector redraw.
- Missing fonts. Text reflows or swaps to a default. Fix it by embedding or outlining fonts.
- Wrong colors. The file is in RGB or uses colors the printer can't match. Convert to CMYK and request a proof.
- White background on a dark garment. The background wasn't removed. Use a transparent PNG or vector file.
- File won't open. The format or software version isn't supported. Export a PDF or a common format.
- Layers or elements missing. Hidden layers or linked images didn't travel. Flatten or package the file properly.
- Artwork too close to the edge. Add margins so nothing gets cut off in production.
Here is a quick pre-submission checklist we recommend:
- File opens without errors on a second device
- Resolution is at least 300 DPI at final size
- Color mode is CMYK
- Fonts are embedded or outlined
- Background removed where needed
- Dimensions match the print area
- A proof has been reviewed and approved
Watch out: approving a proof on a phone screen hides small flaws. Check proofs on a larger display, and zoom in on edges and text.
Request a Quote and Bring Your Artwork to Life
Getting help with custom design files doesn't have to be a guessing game. Identify the gap, prepare a clear request, and let a designer handle the parts that need skill. You bring the idea; the right team handles the file.
At Hatter and Hare Designs, our professional design services cover artwork creation, file cleanup, and print-ready setup for apparel, gifts, and custom projects.
Get started with Hatter and Hare Designs and turn your rough idea into a finished piece you're proud to hand over.
Frequently Asked Questions
What should I send when requesting help with a design?
Send your best existing file first, even if it is a low-resolution photo or a screenshot. Include the intended product and size, the exact text you want, and any brand colors or fonts you must keep. Add a short note about what you want changed and your deadline. If you have a mockup or a reference image you like, attach it. The more context you give, the fewer revision rounds you need. A print shop can work from rough ideas, but clear details speed up the proof.
Can a print shop fix or convert my artwork file?
Most print shops can fix common issues like low resolution, missing fonts, or a file saved in the wrong format. Complex rebuilds may take longer or carry a design fee, so ask about scope and turnaround upfront. Bring your native or editable source file if you have one; it makes fixes faster and more accurate than working from a flat JPEG.
How can I tell if my artwork is ready to print?
Check three things: resolution, color mode, and text. For raster images, aim for at least 300 DPI at the final print size. Use CMYK for print rather than RGB, since colors shift in conversion. Confirm all fonts are embedded or outlined so nothing substitutes. Look for clean edges, no stray background boxes, and transparent areas where you want the shirt color to show. If the file opens cleanly and matches your proof, it is likely ready.
Do I need a vector file for custom apparel printing?
Vector files are preferred for custom apparel printing because they scale without losing sharpness, which matters for logos and bold text on shirts, hats, and bags. Formats like AI, EPS, PDF, and SVG keep edges crisp at any size. Raster images can print well at high resolution, but they blur when enlarged. Ask before you order which file formats are accepted.
