Last Updated: October 23, 2026
Quick Summary
To design custom team shirts, start by defining your team's identity and design concept, then gather inspiration and choose design software like Canva or Adobe Express. Combine logos, graphics, and text into a cohesive layout using readable fonts and a limited color palette, ensure your file meets print specifications at 300 DPI, and always order a proof before committing to a full batch.
- Document your team's identity in writing before designing, including team name, core values, favorite colors, and symbols.
- Limit your design to 3-4 colors to reduce printing costs and complexity.
- Keep critical design elements at least 0.25 inch inside the print boundary to avoid cutoff.
- Convert raster artwork to at least 300 DPI at final print size to prevent pixelation on fabric.
- Order a single proof on the actual garment before running the full batch to catch errors early.
Table of Contents
- Start With Your Team Identity and Design Concept
- Gather Custom Team Shirt Design Ideas and Inspiration
- Choose Your Design Software and Tools
- Use Team Shirt Design Templates to Speed Up Your Workflow
- Design Your Artwork: Logos, Graphics, Text, and Layout
- How to Make Custom T-Shirts Print-Ready
- Select the Best File Format for Shirt Printing
- Prepare Your Artwork and Proofing Process
- Frequently Asked Questions
Start With Your Team Identity and Design Concept
Before you open any design software to design custom team shirts, understand what your team represents. Your design concept should reflect your team's identity, sport, age group, and intended use.
Start by gathering input from your team members. At Hatter and Hare Designs, we find that teams with a clear identity vision create shirts that actually get worn and worn proudly.
Sketch out your overall aesthetic. Will you go with a minimalist design, a bold graphic statement, vintage vibes, or something playful? Your design concept is your north star.
Gather Custom Team Shirt Design Ideas and Inspiration
Look at what resonates with your team. Browse design inspiration from similar teams. Check out sports apparel, vintage band tees, custom merchandise from local organizations.
The design trends for 2026 include nostalgic styles, bubble lettering, varsity-inspired looks, and punk-metal aesthetics. Bonfire's guide to popular T-shirt design trends catalogs these trends in detail.
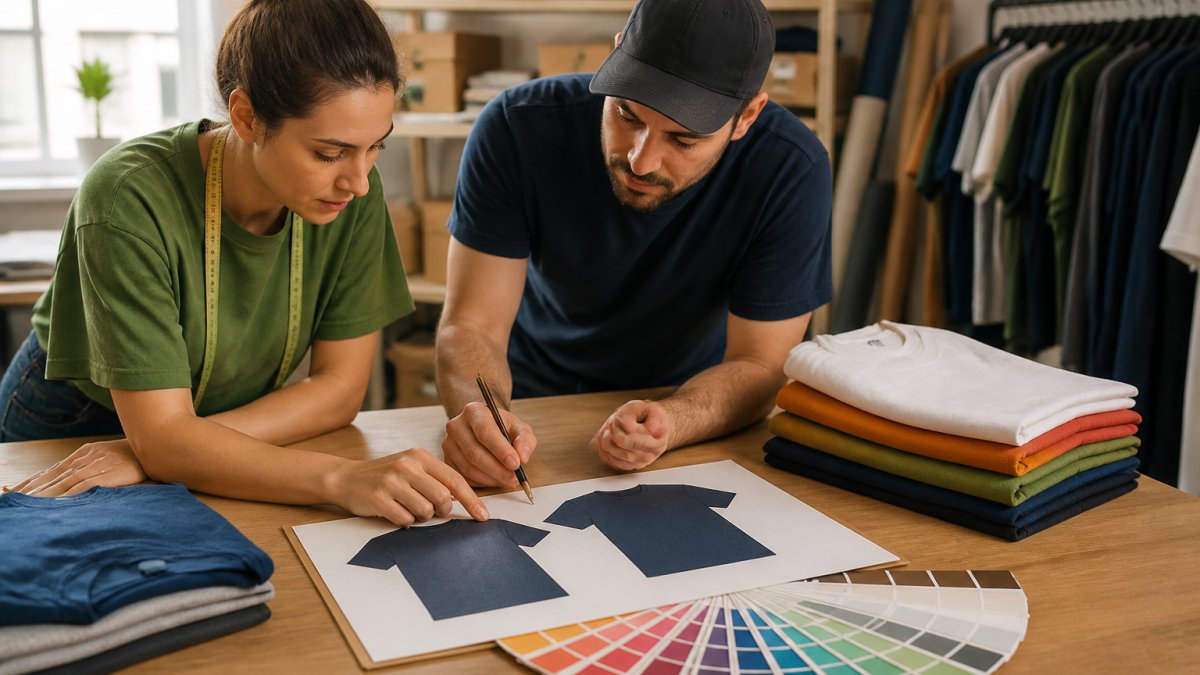
Create a mood board. Gather 5-10 design references that inspire you. Look for patterns. Do you see bold colors or muted tones? Large graphics or small accents?
Choose Your Design Software and Tools
You don't need expensive professional software to create a strong design. Many teams start with free or low-cost tools.
If you're comfortable with design software, Adobe Illustrator and Photoshop give you full control. But if you're not a designer, don't force it.
The right tool depends on your comfort level and budget. Start simple. You can always upgrade later if you need more advanced features.
Use Team Shirt Design Templates to Speed Up Your Workflow
Templates save time and prevent costly mistakes. Most design platforms offer shirt templates with built-in dimensions.
Using a template keeps your artwork in the safe print zone. You avoid placing important elements where they'll get cut off or distorted.
Search for "custom team shirt templates" in your design tool. Filter by your intended print method. Download a template that matches your garment style.
Design Your Artwork: Logos, Graphics, Text, and Layout
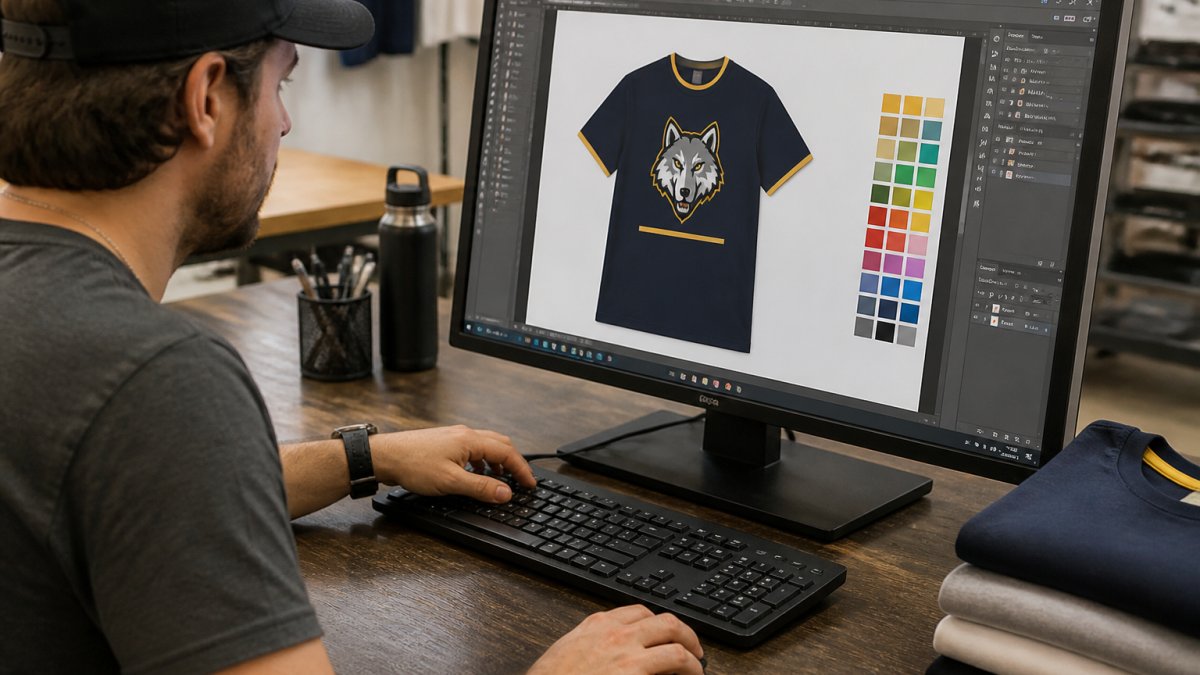
This is where you design custom team shirts and bring them to life. Combine logos, graphics, photos, and custom text into a cohesive design. Each element should serve your overall aesthetic.
Select Readable Fonts and Ensure Legibility
Font choice makes or breaks a design. Choose fonts that are easy to read, especially at small sizes. Avoid overly decorative fonts for body text. Save decorative fonts for headlines or accents where they have space to breathe.
Test your fonts at the actual printed size. A beautiful font at 72 points might become illegible at 12 points. Pair one simple, readable font with one accent font for visual interest.
Choose Your Color Palette and Shirt Color
Your color palette and shirt color work together. Light text needs a dark shirt. Dark text needs a light shirt. Avoid low-contrast combinations that strain the eye.
Consider your team's identity. What colors represent you? What colors photograph well? What colors work in your climate? Teams in sunny regions often choose lighter shirts.
Limit yourself to 3-4 colors in your design. More colors increase printing costs and complexity.
Plan Placement and Artwork Sizing
Placement determines how your design reads on the body. A chest placement works for logos and small graphics. A full-back placement gives you more space for larger designs.
Size your artwork appropriately. A logo should be visible from 10 feet away. Text should be at least 0.5 inches tall for readability. Leave adequate white space around your design so it doesn't feel cramped.
How to Make Custom T-Shirts Print-Ready
Print-ready means your file meets the printer's exact specifications the first time. For a team order, a single prepress mistake can delay 30 shirts or force a reprint, so treat this as a checklist rather than a final glance. Confirm the printer's requirements in writing before you export, shops differ on bleed, color mode, and acceptable file types.
The team-order prepress checklist
Run through these items before you send anything:
- Resolution: Raster artwork should be at least 300 DPI at the final print size. A 12-inch-wide chest print needs roughly 3,600 pixels across. Pulling a 72 DPI web logo up to 12 inches will look soft or pixelated on fabric.
- Color mode: Convert to CMYK unless the printer asks for RGB.
- Transparency and layers: Flatten transparency and merge layers on the export copy, but keep a layered master file.
- Text: Convert type to outlines on the print file. Keep an editable copy with live text so you can fix a misspelled name later.
- Bleed and safe area: Keep critical elements at least 0.25 inch inside the print boundary.
- Stray elements: Delete crop marks, guides, template layers, and anything outside the artboard. Hidden layers still export in some formats.
- Spelling and names: Team shirts often include player names and numbers. Build a name/number list in a spreadsheet, then have a second person read the proof against the roster line by line.
Match the file to the print method
Prepress requirements follow the decoration method, not the other way around:
- Screen printing: Vector art is strongly preferred. Each color becomes a separate screen, so clean, separated spot colors matter more than photographic detail. Gradients and fine halftones are possible but add cost and complexity.
- Direct-to-garment (DTG): High-resolution raster (PNG or TIFF at 300 DPI) with a transparent background works well. DTG handles photographic and full-color art that screen printing cannot economically reproduce.
- Heat transfer and vinyl: Simple vector shapes and text cut cleanly. Fine detail and small text below roughly 0.25 inch can be difficult to weed.
- Sublimation: Best for polyester performance wear and all-over designs. Colors are limited by the garment's base color, sublimation cannot print white ink on a dark shirt.
Proof before you commit the team
Order a single proof, a test print on the actual garment in the actual ink, before running the full batch. Review it under daylight, not just office lighting, because ink colors shift between light sources. Check placement against the template, confirm every name and number, and photograph the proof so remote team members can approve it. Document any changes in writing and get the printer to confirm them before production begins.
Select the Best File Format for Shirt Printing
File format is a production decision, but for team shirts it is also an archive decision. You will likely reorder the same design next season, add a new player, or replace a lost shirt, and that only works if you keep the right master files. Choose formats with the reorder in mind, not just the first print run.
Format by method, at a glance
- Vector (AI, EPS, SVG, PDF): Scales without quality loss and is the standard for screen printing, vinyl, and heat transfer. Keep one layered master and export a flattened copy for the printer.
- Raster (PNG, TIFF, JPG): Required for DTG and photographic art. Use PNG or TIFF with a transparent background at 300 DPI; avoid JPG for anything with text or hard edges because compression creates artifacts.
- PDF: A reliable handoff format when the printer accepts it. Export a print-quality PDF with fonts embedded or outlined.
Keep a team design archive
A common pattern among teams that order repeatedly is a shared folder containing:
- The layered master file (AI, PSD, or the native format of your design tool).
- A print-ready export for each decoration method you use.
- The original logo vector and any licensed fonts (with proof of license).
- The approved proof photo and the final name/number roster.
- A one-page spec sheet: garment style, color, print locations, ink colors, and quantities by size.
This archive is what makes a reorder a five-minute task instead of a redesign. Store it somewhere the team's organizer, not just the original designer, can access it.
Plan for names, numbers, and size runs
Personalization is where file format meets logistics. If shirts will carry player names and numbers, decide early whether they are printed with the main design or applied separately. Build a roster spreadsheet with columns for name, number, size, and personalization preference, and lock it before the printer starts. Collect sizes using a try-on session or a size chart from the garment manufacturer, do not rely on members self-reporting, because sizing varies by brand and fit.
Confirm the handoff with your printer
Ask three questions before you send files: Which formats do you accept? What resolution and color mode do you require? How do you want personalization data delivered? Get the answers in writing, name the files clearly (team-name_front_2026.ai, team-name_roster.xlsx), and keep the printer's confirmation with your archive. That paper trail is what protects the team if a reprint is ever needed.
Prepare Your Artwork and Proofing Process
Before you order 50 shirts, order a single proof. A proof is a test print on one shirt.
Review your proof carefully. Check color accuracy. Verify placement. Confirm text is readable. Look for any printing defects.
Document any changes needed. Communicate them clearly to your printer.
Designing custom team shirts takes planning, but the process becomes straightforward once you follow a clear workflow.
Frequently Asked Questions
Can I design my own team shirts without design experience?
Yes. Online design tools and templates make it accessible even if you've never designed before. Start with a template that matches your team's overall aesthetic, then customize the colors, text, and graphics. If you're unsure about your design concept, professional design services can help you refine your vision into artwork that's print-ready. Many providers, including Hatter and Hare Designs, offer in-store assistance to turn your rough ideas into polished designs.
What file format is best for shirt printing?
Vector formats like AI or EPS are ideal because they scale without losing quality. PNG files with transparent backgrounds work well for graphics. Always confirm the best file format for shirt printing with your printer before finalizing your artwork, as requirements vary by printing method.
How do I choose colors and fonts for team shirts?
Start with your team colors and brand identity. Select fonts with high legibility, sans-serif fonts like Arial or Helvetica work well for team apparel. Ensure strong contrast between your text and shirt color so the design is readable from a distance. Test your color palette on different shirt colors to see how it looks. Limit yourself to 2-3 colors to maintain visual impact.
What should I include on a team shirt design?
Include your team name, logo, and team colors as the foundation. Add player names or numbers if personalization is part of your plan. Keep the overall aesthetic clean and not overcrowded, focus on placement and artwork sizing that balances visual interest with readability. Consider your team's sport or purpose; a youth soccer team might emphasize the team identity differently than a corporate team. Avoid cluttering the print area; simpler designs often have more impact.
