Last Updated: October 25, 2026
Quick Summary
To design custom apparel that looks professional, start with the garment and a clear concept, sketch several rough layouts on paper before opening design software, then prepare a print-ready file at 300 DPI with a transparent background. Choose your printing method before finalizing artwork, and approve a physical sample before any bulk order.
- Sketch five rough layouts on paper before you open a design tool.
- Use no more than two fonts and three colors in a design.
- For a 10-inch full-front print, the source file needs at least 3,000 pixels across.
- Small runs under roughly 24 pieces usually favor direct-to-garment or heat transfer.
- Order one sample before ordering fifty to catch problems while fixes are cheap.
Table of Contents
- Start With the Garment and the Design Concept
- Custom Apparel Design Ideas: Sketching a Layout That Works
- Custom T-Shirt Design Software: Templates, Fonts, and Color Palettes
- How to Prepare Artwork for Shirt Printing
- Custom Apparel Printing Methods Compared
- Design Placement, Print Area, and Inclusive Size Ranges
- Sampling, Quality Control, and Licensing Checks Before You Order
- Bring Your Custom Apparel Design to Hatter and Hare Designs
- Frequently Asked Questions
Start With the Garment and the Design Concept
Custom apparel starts with a blank garment and a clear idea, not a logo file. Get those right and the process moves fast; skip them and you pay in reprints.
The market rewards that discipline.
At Hatter and Hare Designs, the best designs come from customers who know two things before they walk in: what the shirt is for, and who will wear it.
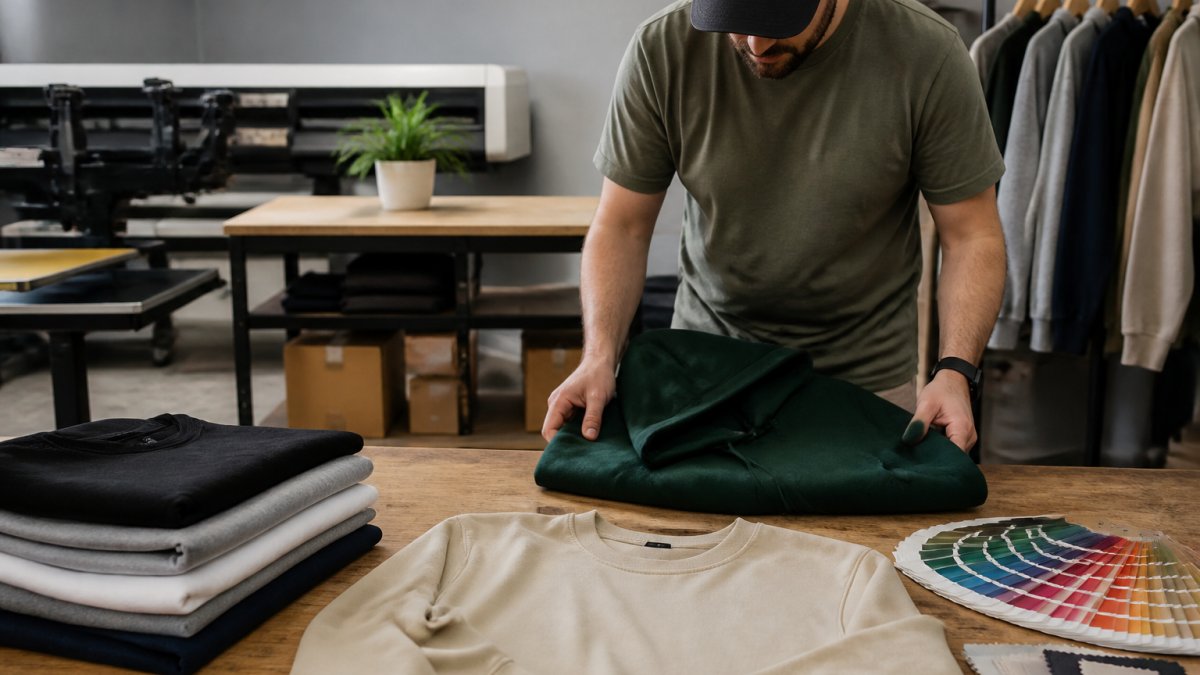
Pick the Fabric and Silhouette Before You Draw Anything
Fabric decides how your design will look, feel, and last. Cotton holds ink well and feels soft; cotton-poly blends resist shrinking and wrinkles; polyester performs best with dye-based printing.
Silhouette matters too. A fitted tee and a boxy heavyweight crew give you different print areas, so pick the garment first and design to its shape, a design built for a fitted shirt looks lost on a boxy one.
Define Your Target Audience and Where the Shirt Will Be Worn
Ask three questions before you design:
- Who wears this? A team, a family, a fundraiser crowd?
- Where will they wear it? A 5K run, an office, a reunion?
- How often? One event, or every week?
A shirt worn at a muddy 5K needs different colors and fabric than a polo worn in a client meeting. Match the design to the setting, not your mood board.
Custom Apparel Design Ideas: Sketching a Layout That Works
Great custom apparel design ideas start with paper, not software. Sketch five rough layouts before you open a design tool.
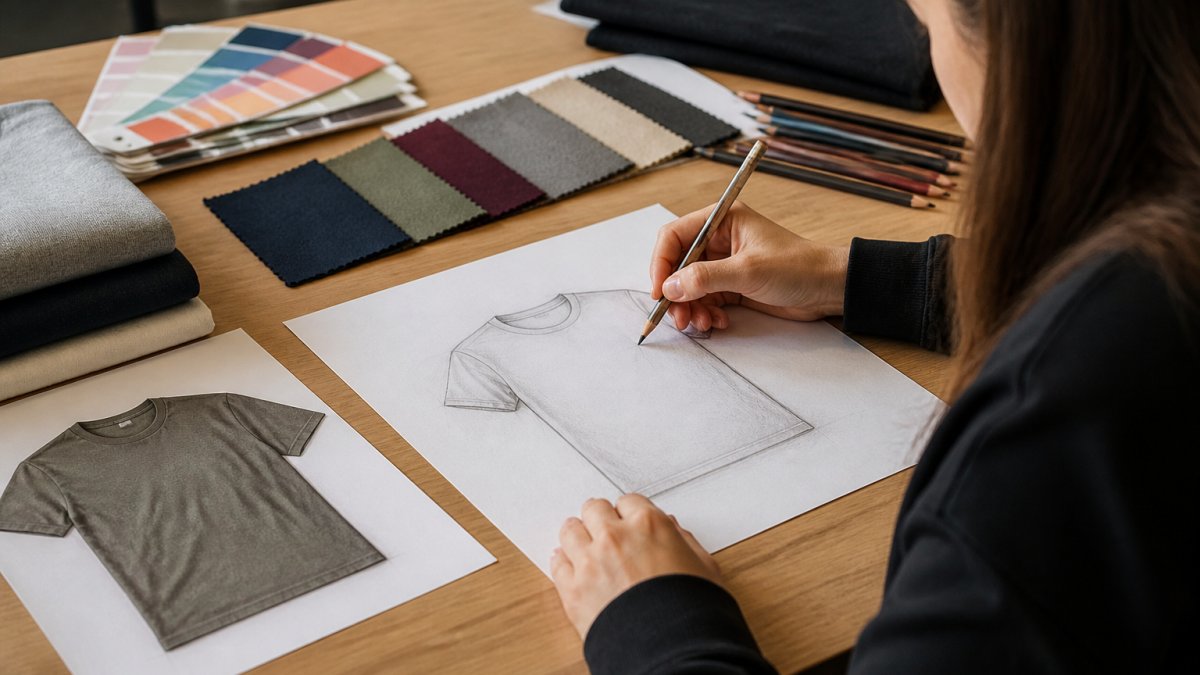
Keep your sketch simple:
- One main focal point, not three
- Text short enough to read from six feet away
- Space around the edges so the design breathes
- A clear front-back plan
Research in the Journal of Fashion Marketing and Management (2020) found designers rely on structured idea development, not random inspiration.
The biggest mistake we see? Cramming a logo, a date, a slogan, and a mascot into one shirt. Pick one hero element. Let the rest support it.
Custom T-Shirt Design Software: Templates, Fonts, and Color Palettes
Custom T-shirt design software gives you three ways in: a template, a blank canvas, or an upload of your own art. Beginners should start with a template and edit from there.
Online design tools let users upload photos, logos, or illustrations, then add text and pick from clip art and fonts, as Canva's design guide describes.
Follow three rules:
- Fonts: Two max. One bold display font, one clean body font.
- Colors: Three max. Pull them from your logo or brand, not the rainbow.
- Templates: Use them as a starting grid, then strip out what you do not need.
A common mistake is picking a font because it looks fun, then discovering it is unreadable at shirt size. Test every font at the actual print size before you commit.
How to Prepare Artwork for Shirt Printing
Preparing artwork for shirt printing means turning your design into a file the printer can use without guessing. Most rejected artwork fails on one of five specs: resolution, color mode, transparency, bleed, or print-area size. Get those right and your file moves through production without a rework loop.
Here is what to check:
- Resolution: 300 DPI at final print size
- Color mode: RGB for digital, but ask your printer about spot colors
- File type: PNG or PDF for raster art, SVG or AI for vector
- Background: transparent, not white
- Bleed: a little extra edge on full-bleed designs
Vector Artwork, Image Resolution, and Print-Ready Files
The resolution math trips up more orders than any other spec.
Vector files behave differently.
Color mode is the second common failure.
Transparency and background are the third.
Bleed matters for full-bleed designs, where art runs to the edge of the print area.
Print-area size is the fifth spec. A full-front print is typically 10 to 12 inches wide; a full back is 12 to 14 inches.
If your logo only exists as a small JPG, ask for the original vector file from whoever made it. If none exists, a designer can rebuild it.
Custom Apparel Printing Methods Compared
Custom apparel printing methods fall into four main families, each suited to different jobs. Pick the method before you finalize the art, because the art has to match the process. The decision comes down to five variables: order quantity, fabric, level of detail, durability requirement, and budget per unit.
| Method | Best For | Art File Needs | Durability |
|---|---|---|---|
| Screen printing | Bulk orders, bold designs | Vector, spot colors | Very high |
| Direct-to-garment | Small runs, photos, gradients | High-res PNG, 300 DPI | Good |
| Heat transfer | Names, numbers, small batches | Vector or high-res raster | Medium |
| Embroidery | Polos, hats, uniforms | Vector, digitized file | Very high |
Screen Printing, Direct-to-Garment, Heat Transfer, and Embroidery
Screen printing pushes ink through a mesh screen. It is the workhorse for team shirts and events and gets cheaper per unit as quantity climbs.
Direct-to-garment printing sprays ink straight onto the fabric, like a printer for shirts.
Heat transfer presses a printed film onto the garment. It is fast, great for one-off names and numbers, and works on a wide range of fabrics.
Embroidery stitches thread into the fabric. It looks premium on polos and caps and holds up for years.
A Practical Decision Framework
Work through these questions in order:
- How many pieces? Small runs (roughly under 24) usually favor direct-to-garment or heat transfer because there is no screen setup. Larger runs favor screen printing, where setup cost spreads across more units.
- How many colors and how much detail? Bold, limited-color designs suit screen printing. Photos and gradients suit direct-to-garment. Simple logos and text suit embroidery.
- What fabric? 100% cotton is the safest base for direct-to-garment. Polyester performs best with dye-based printing and can be tricky for DTG. Blends vary, so confirm with your printer.
- How long must it last? Uniforms and daily-wear pieces favor embroidery or screen printing. Event shirts worn a few times can use heat transfer or DTG.
- What is the budget per unit? Screen printing has the lowest per-unit cost at volume but the highest setup. DTG and heat transfer have low setup and higher per-unit cost at volume. Embroidery sits in the middle with digitizing fees up front.
A common pattern is to prototype with a small DTG or heat-transfer run, approve the design and placement, then move to screen printing for the bulk order. That sequence catches design problems before you pay for screens.
Design Placement, Print Area, and Inclusive Size Ranges
Design placement decides whether a shirt looks intentional or accidental. The print area is the zone the printer can reach, and it changes with garment size.
Standard placements:
- Full front: roughly 10 to 12 inches wide, centered on the chest
- Left chest: about 3 to 4 inches wide, sitting above the pocket line
- Full back: the largest zone, often 12 to 14 inches wide
- Sleeve: small marks only, usually 2 to 3 inches
Inclusive sizing is where many orders go wrong. A design sized for a small shirt can look tiny on a 3XL. Scale the art up for larger sizes, and check that the print area still fits. Ask your printer to confirm placement on the full size range before production.
Sampling, Quality Control, and Licensing Checks Before You Order
Order one sample before you order fifty. It shows the real fabric, ink color, and placement, catching problems while they are still cheap to fix.
Your pre-order checklist:
- Approve a physical sample or digital proof
- Confirm color against a physical swatch, not a screen
- Check spelling and dates twice
- Verify you own or licensed every logo, image, and font
- Confirm size range and quantities
- Ask about turnaround and pickup
Licensing trips up a lot of well-meaning orders. You cannot print a sports team logo, a cartoon character, or a band name without permission. Fonts have licenses too. Commercial fonts usually require a paid license for apparel use. Check before you print, not after.
Watch out: printing a licensed image without rights can get your whole order seized or destroyed, and you eat the cost.
Bring Your Custom Apparel Design to Hatter and Hare Designs
The gap between a homemade-looking design and a professional one comes down to process: garment first, sketch second, print-ready file third, sample before bulk.
You do not need design software or a design degree to get there. Bring a rough idea, a photo, or a napkin sketch, and our team can turn it into something you are proud to wear.
Get started with Hatter and Hare Designs and request a quote for your next custom apparel project.
Frequently Asked Questions
Can I design my own T-shirts if I have no design experience?
Yes. Online design tools let you upload a photo or logo, add custom text, and choose from templates, clip art, and fonts. If you would rather not work alone, bring a rough sketch or reference photo to a shop with in-store design help and an associate can turn it into a print-ready layout. The key is starting with a clear idea of the audience and where the garment will be worn, then letting the tool or designer handle the technical details.
What is the best program to design T-shirts?
It depends on how much control you want. Browser-based tools such as Canva are the fastest route for simple text-and-logo designs, while vector editors give you cleaner files for screen printing. Whatever you use, export a high-resolution file with a transparent background and check that any text has been converted to outlines. If you are unsure whether your file will print well, ask your printer to review it before the order goes to production.
How do I choose a printing method for custom apparel?
Match the method to your order quantity, fabric, and design complexity. Screen printing keeps unit cost down on larger runs of one design and holds color well on cotton. Direct-to-garment suits small batches and detailed, multi-color artwork. Heat transfer works for names and numbers on individual pieces, and embroidery fits polos, caps, and corporate gifts. Ask for a sample before committing to a full run so you can check print quality, color accuracy, and durability.
How do I prepare artwork for shirt printing?
Start with vector artwork or an image at 300 DPI at the final print size, since low-resolution files turn blurry once printed. Use a transparent background, keep important elements inside the print area, and convert fonts to outlines so nothing shifts. Save a layered file plus a flattened proof, and note the color palette you expect. Sending a mockup alongside the file helps your printer confirm design placement and sizing before production begins.
